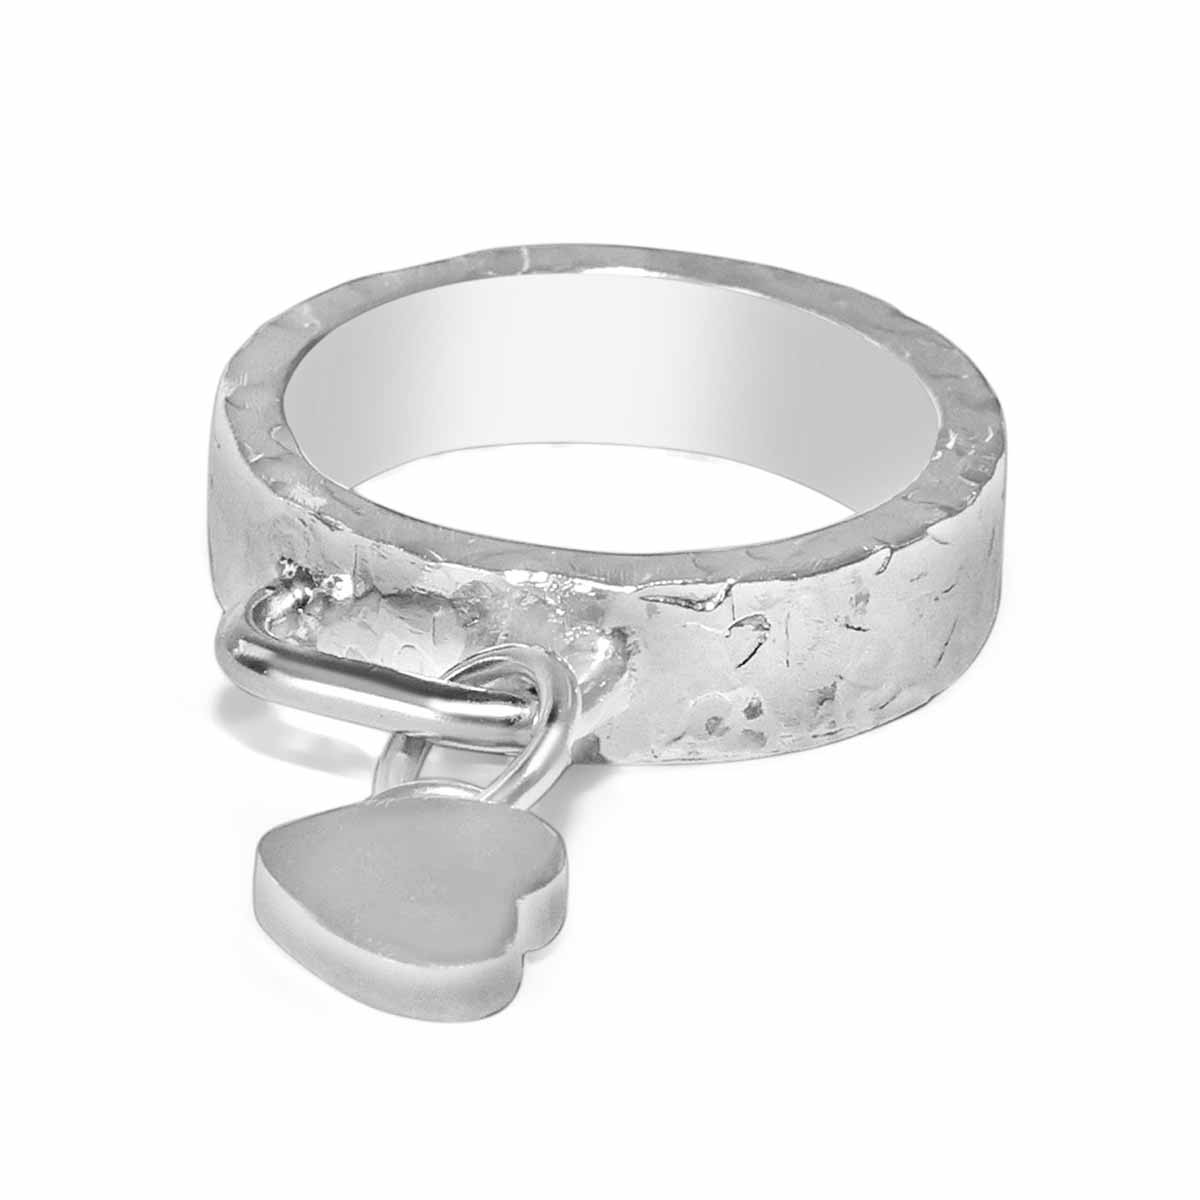
Making My Amor Ring

The first step is making the band which I form from a flat piece of either sterling silver or gold. An interesting point to note is the extra effort and challenges working a 2mm thick piece of stock – especially with smaller ring sizes.
I purchase my flat stock (strips/lengths of metal) from two specific vendors which I have been working with for years. I am extremely happy with the quality of fine metals (stock, alloys, and grains) they produce.
Each ring size requires a specific length of material. For a ring size 8 the length calculations would look something like this:
Inside diameter of a size 8 rings = 18.19mm
Width of stock = 2mm
Formula = 18.19 + 2 * π = 63.42mm
**Since this ring features a hand-hammered texture, I must hammer the metal before I cut it to size. What I often do here, is measure out the length of 63.42 and mark it using a red sharpie. Hammering the metal will add mm’s the length – meaning, if I was to cut the metal to 63.42 before hammering, the metal would be longer after hammer (because it will stretch out).
After the hammering process is done, I can cut (using a hand saw) the exact length needed to make a size 8 ring using 2mm thick “hammered” stock.
Note: I will cut a little longer ~ 1mm to ensure I have a little wiggle room when it comes to filing the ends flat.
Once I have the length of stock needed, I need to carefully file the ends perfectly flat. This ensures that when I form the band, the ends meet up perfectly.
As I work, I am constantly measure (using calipers) to ensure I am at or achieve the target length of 63.42mm.
Making rings (especially at 2mm thick) requires annealing, a process that makes the metal softer and easier to bend. This is done by heating the metal until it turns slightly red and allowing it to cool.
Once this is done, I can start to form the “circle” band by curving it around a ring mandrel to form the basic shape. The use of pliers and hand/arm strength is the last step employed to get the ends (sides and tops and bottoms) to meet up perfectly aligned together.
I measure the ring on the mandrel to ensure it’s a perfect size 8.
Once I am happy, I will solder the ends together then work the piece with files, sanding sticks to create the invisible joint!
The amor ring features a manacle. The square loop on the ring that the heart is attached to. For this I use 1.5mm round wire that I hand bend into shape.
The ring goes into a special holder which allows me to drill two holes into the ring. The manacle ends will be placed into the holes and then it will be soldered onto the ring.
At this stage it’s time to melt down some metal. The “clump” of metal is hammered down and then rolled out until it’s 2mm thick. I have a hand rolling machine – which has two rollers that I place the metal between and then turn the handle causing the metal to be forced between the rollers. I keep doing this until my piece of metal becomes exactly 2mm thick.
On this small sheet of 2mm metal I’ve created, I draw out the heart and then use a hand saw to cut it from the metal.
Using small needle files, I clean up any rough edges and work to make the heart shape smooth on all its surfaces.
I’m almost done!
The second to last step in the creation process is soldering the 1mm wire to the side of the heart which will allow me to attach the heart to the ring manacle using a jump ring.
Once I have completed the heart piece, I temporarily attach it to the ring and place it into a magnetic tumbler for around 60 minutes. The magnetic tumbler is basically a tank filled with tiny metal shards, water, and a liquid cleaner. The tiny metal shards spin around (like a washing machine) acting to polish the ring.
From here it’s all about polishing. I remove the heart and start working on the ring using Tripoli and buffing rouges. I polish by hand, using a small handheld flex-shaft machine. I wear magnify glasses during most of the making process, but for the polishing process I rely on magnification to ensure I buff out any scratches and achieve a high-quality shine.
After the ring is complete, I polish the heart and then reattach it to the ring.
To complete the process, I wash the ring using a soft toothbrush and warm soap water. Then I take a couple minutes to admire my work and imagine how happy you will be with your amor ring.

